Wednesday, February 26, 2014

Breaking in a new Fuji X-T1 on a snowy scene in New York

Seems like all I do lately is take pictures of New York in inclement weather. We had a slight fog this morning with light falling snow, a perfect opportunity to try out the new weather resistant Fuji X-T1. Good thing it is weather resistant. Last time I was out in falling snow with an X-E2 I trashed the camera with some water damage.


Of course the scene today of the Flatiron Building with the mist and light falling snow reminded me of the famous Edward Steichen version of this same scene taken from almost the same angle in 1905. I couldn't resist doing a similar version with the X-T1. 

My "homage to Steichen" of the Flatiron Building taken with the Fuji X-T1 today in the mist and snow.

Famous version of the Flatiron Building photographed by Edward Seichen in 1905. My favorite part of this image has always been the silhouettes of the top-hatted hansom cab drivers in the foreground.  The scene will never be the same without them.

The Fujifilm X-T1 camera body only is available at:  BH-Photo  Amazon
The Fujifilm X-T1 with 18-55mm lens is available at:  BH-Photo  Amazon

Tuesday, February 25, 2014

Focus stacking to achieve a super sharp depth of field

Yesterday I showed some still life images of ingredients to be used as props in an elaborate composition on the theme of winter produce. I have been creating these super-sharp images for some time on various aspects of food groupings. Here I chose to cover the winter produce available at the local farmers market this time of year.

The photo below was actually taken in 19 exposures. I first focused on the closest foreground point and minutely stepped the focus for each subsequent shot a miniscule amount to the rear until the entire composition was covered. Later the images were combined, or "stacked", in a program called Helicon Focus to make one super-sharp image. You can download a high resolution image using the link below the photograph.


For this sequence I relied on a Nikon D800 to provide the maximum resolution required for making large prints. The lens was a 60mm macro set to f/5.6, a combo I find works best for this type of project.

Monday, February 24, 2014

A still life project for the X-Pro1

Today we are doing an elaborate still life project in the studio on winter produce. This past Saturday I went to the local farmers market to gather up some produce to use as props for the shoot. I looked for items having a just-pulled-from-the earth quality about them. I like the craggy, sculptural quality of the individual produce, particularly the root vegetables, and decided to do some simple still life photos of some of the individual items. 

For this project I chose a 35mm lens on the Fuji X-Pro1, setting it for +1 on both highlights and shadows to accentuate the starkness of the produce. I used a soft, back lit window lighting with no front fill, again to keep the contrast harsh. 

In tomorrows blog I will show the large still life image we are doing with all the produce together in one elaborate composition. 

Carrots

Bosc pears

Black radish

Parsnips

Japanese red radish

Celery root

Potatoes


Saturday, February 22, 2014

Fog, the Brooklyn Bridge, an X-Pro1, and platinum printing

I had been waiting for a foggy day to go and photograph the Brooklyn Bridge. Yesterday the weather cooperated. My intent was to capture images for later conversion to platinum prints. I find that the Fuji X cameras with their 16mp APS-C sensors produce better results when converted than full frame cameras with higher resolutions. Platinum printing is an analog process done from a film negative. I have to use an inter-negative to convert from digital, and find the results from an X camera deliver a look closer to analog film when printed.

For this first study, I wanted to capture the seagulls flying around the bridge. There is never a guarantee the birds are going to cooperate.  I had to take quite a number of exposures to finally capture this version. 

This is the image I had in mind for the bridge in fog. It is a 40 second time lapse shot at f/22 with a 9-stop neutral density filter on the 14mm lens. 

Taken with the 55-200mm zoom to squash the perspective of the cables and the bridge, this is the only photo  where I used a lens other than the Fuji 14mm . 

Here I put the X-Pro1 in 16:9 crop mode to gain more of a panoramic format and emphasize the complexity of the bridge cabling. 

Friday, February 21, 2014

Adobe Photoshop camera RAW 8.4 now available for the Fuji X-T1

This time Adobe is ahead of the game. It has just made available its latest release candidate, camera RAW 8.4, for Photoshop CS6. This latest version now supports the Fuji X-T1, Nikon D4s, and Nikon D3300 cameras. Several new lenses are also supported, including the new 35mm f/1.8G, and the lens on the Fuji X100S.


The Camera Calibration menu in Bridge now supports the Fuji color profiles. This means you can now shoot RAW and apply any of the color profiles later in post-processing. In the past if you used a profile it applied to the jpg only, not the RAW. This is a huge improvement for anyone using these profiles. 


The image above is a RAW photograph straight from the camera. On top the photo maintains the Adobe standard settings, while below the Fuji Velvia/VIVID camera calibration was applied giving the photo the more richly saturated look of the Velvia film type. The advantage here is that further post-processing of the image can be done while the image remains in its 16-bit depth instead of jpg's 8-bit.

Sharpening and noise controls are also improved and can now be applied directly in Photoshop to the 16-bit files. The image above was shot at ISO 6400 under harsh light from down spots. You can see the difference between the native RAW file and the same file with noise control and sharpening applied in Photoshop by downloading the full res versions below.


The sharpening and noise reduction controls applied to the image

You can download Adobe Photoshop Camera Raw 8.4 RC here.  The release candidate is considered a beta version. It will be replaced by the real version before its expiration on 5/31/14.

Enhancing a back light in Photoshop

When I took this photo in the studio I wanted to create a very light, airy mood by placing the model in front of a large window to photograph her completely back lit. To haze the image even more I did not use any foreground fill reflectors, and opened up the lens aperture instead.  The result was a very bright, low contrast image.  When processing the image I felt it could be softened even more, and would benefit from a flare light to give it a warmer sunset glow.


The first thing I did was create what I call a separate "flare image" in Photoshop. I started with a totally black background and made a flare-like selection using the Polygonal Lasso Tool, and filled this area with white, which you can see in the left sample below.

Next I used various blurring filters to soften up the flare, and finally used the Render Flare filter to add some color. The actual technique I use for this blurring and coloring process varies to suit the image I am flaring. finally I added 12% noise to the flare to eliminate the posterizing that occurs in the light to dark transition areas.


The screen shot about shows all the layers used in the process. Notice that the light flare layer was used twice, and that the mode was changed to "Screen".  This eliminated the black areas and blurred the whites. In each of these layers I painted in some black on the layer mask to allow more detail from the original image to pass through. Next I added a Warming filter (85) Photo Filter adjustment layer and grouped it only with the light flare layer below it.


Fine tuning of the haze amount was accomplished with a Levels layer you can see above. I added it as the top layer so it would control everything below it. I drag the left slider to the right to bring up detail in the blacks, and stop when I think I have enough. Below is the resulting image.


The whole process sounds more complicated than it actually is. I save the flare images I make because they can be used again and modified to use with future photos. 

The original photo was taken with a Nikon D4 and 85mm lens with its aperture set to f/1.6. This enhanced the softness and kept a very shallow focus. 

Thursday, February 20, 2014

Firmware update time again for the Fuji X cameras and lenses

Ready, set, update! Yes, it's that time again for new updates to the firmware on Fuji X cameras and a few of the lenses. This is when you begin to wonder if you have accumulated too much Fuji equipment in your arsenal.


The updates are for all cameras to prep them for the new 56mm f/1.2 lens. In addition, these updates will improve the OIS function for both still and video shooting.

Here is a complete list of the updates and their purpose from the Fujifilm web site:

"We are pleased to announce that new firmware updates are now available for the following products:
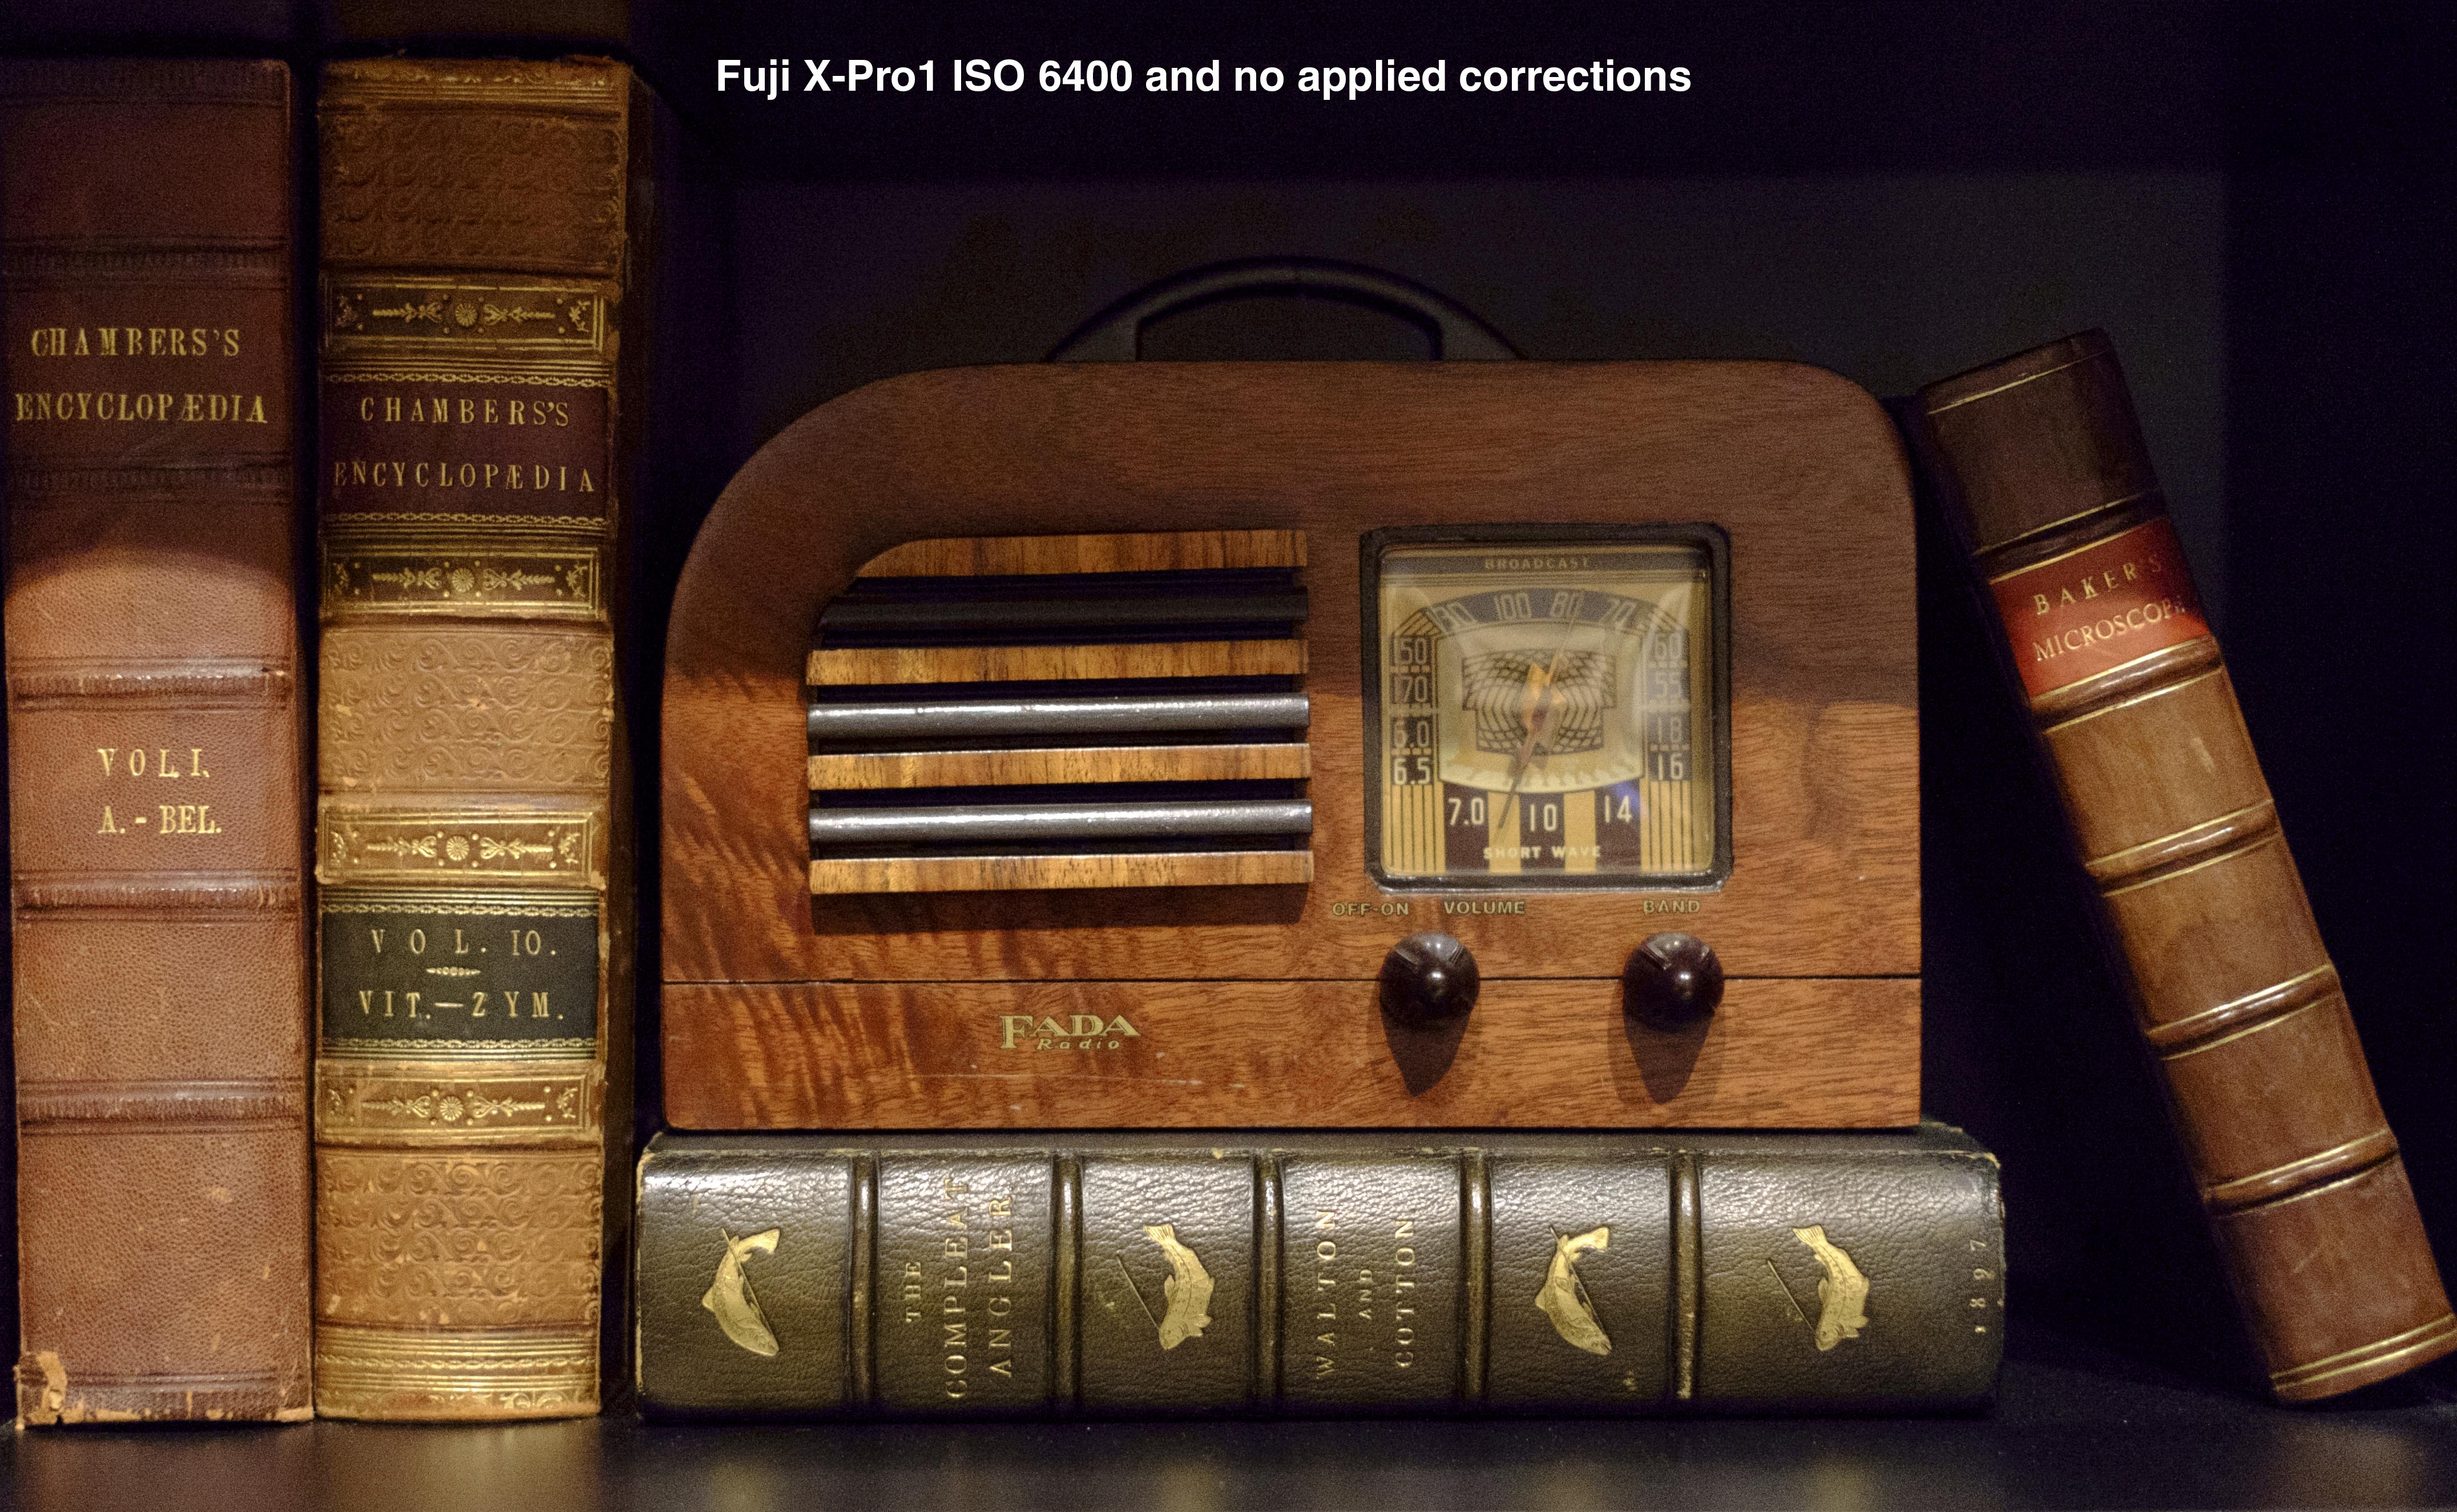
(1) X-Pro1 : 3.20 (current 3.10)
(2) X-E1 : 2.20 (current 2.10)
(3) X-E2 : 1.20 (current 1.10)
(4) X-M1 : 1.10 (current 1.01)
(5) X-A1 : 1.10 (current 1.01)
(6) XC16-50mm : 1.12 (current 1.10)
(7) XF18-55mm : 3.11 (current 3.10)
(8) XF55-200mm : 1.11 (current 1.10)

The updates for the camera models incorporate the following changes:

1) Addition of compatibility with XF56mmF1.2R.
2) Improvement of AE accuracy with XF56mmF1.2R
3) Improvement of AF accuracy with XF56mmF1.2R (only for X-E2)

For the lenses, the following changes are applied:

1) Improvement of OIS function for movie shooting when panning and tilting a camera.
2) Improvement of OIS function for still image shooting.
3) Fixed a bug where the maximum aperture always displays F5.6. (only for XC16-50mm. )
4) Improvement of AF response during continuous shooting with X-E2 and X-T1. (for XF18-55mm and XF55-200mm)"

You can download the firmware using this link:  Fujifilm firmware updates.


Don't have a Fuji X camera and feeling left out of all the ritualized firmware updates the rest of us are having fun doing? You can buy an X camera now while Fujifilm has them heavily discounted. Then you can join the rest of us in the fun of firmware updating.

Fujifilm X-Pro1  B&H Photo  Amazon
Fujifilm X-E2  B&H Photo  Amazon

Wednesday, February 19, 2014

The focus advantage of a Fuji X camera for lifestyle photography

One feature I am starting to really appreciate on the X cameras is the way the focus point can be moved into even the furthest corners of the image frame.  When photographing people I like to put the focus point on their eye. With most other cameras this is often difficult to do when the model's face is near the edge of the frame. 


The X cameras have 49 focus points scattered over most of the image frame making it easy to place one close to the edge of the frame. Plus the size of the focus rectangle can be change on the fly by turning the rear command dial.  While many pro DSLR cameras have even more focus points than the X cameras, these points are usually grouped towards the middle of the frame leaving a large border along the edges of the frame without any focus coverage. DSLR photographers have learned to "grab focus" and then move the frame to compose the shot.  With a Fuji X camera that isn't necessary, and that is one reason I like it for lifestyle photography. 

Usually I do my lifestyle shootings with a Nikon D4, which is what I used to take the photo above with the model holding my Fuji X-Pro1.  The rest of the shots below were taken with the X-Pro1 she is holding.  The washed out effect was achieved by not using any fill for the strong daylight coming from the back lit window. 
In the sample images below of a lifestyle shoot I did with one model in the studio today, notice in how many of the situations the model's eyes are not near the center of the frame. In every scene I was able to place a focus point where I needed it without having to "grab focus" or re-compose the photograph because the X-Pro1 always had a focus point where it was needed. 

Another feature I like on the X cameras is the square crop mode. I used to shoot a 6x6 Hasselblad and have always loved composing with a square. 


To keep the colors warm and add more detail to the face in this harshly back lit scene, I added large silver/gold reflectors in front of the model. 


The lighting in the scene is essentially the same at the photo above it except that the reflectors were removed to soften the contrast. I also re-adjusted the color temperature in post-processing to enhance the mood by moving the temperature slider to the bluer side and dialing down some of the color vibrancy. In the photo below I greatly exaggerated the blue, while in most of the other images the color was kept evenly balanced, pretty much as it came directly from the camera.  


This photo is the only one in this series taken with artificial light. I used a 1000 watt tungsten lamp with color correcting blue gels on it and bounced it from the gym ceiling to evenly light the room.   All the rest of the images were taken with available daylight, usually with backlighting. 


This blur action shot of the model with everything else in focus was taken at 1/15 second with the camera on a tripod and focused on the foreground boxes. I use a variable ND filter to dial in the exposure with the shutter speed and lens aperture where I want them to be.


In this photo the model's face is up along the edge of the frame, yet I had no trouble placing a focus point on one of her eyes with the X-Pro1. With the Nikon D4 I normally use for lifestyle shooting I would never be able to reach this focus point without grabbing focus and holding it while recomposing the shot.

You can help support our site at no extra cost to you if you purchase your camera supplies from one of our affiliate sponsor links:

Special sale on the Fuji X-Pro1:   B&H Photo  Amazon
Order the new Fuji X-T1 camera:  B&H Photo  Amazon

Here's a sampling of the Fuji lens deals being offered at B&H:

Fujifilm XF 14mm f/2.8 R Ultra Wide-Angle Lens now $699 (save $200)
Fujifilm 18mm f/2.0 XF R Lens now $399 (save $200)
Fujifilm XF 23mm f/1.4 R Lens now $749 (save $150)
Fujifilm XF 27mm f/2.8 Lens (Black) now $199 (save $200)
Fujifilm 35mm f/1.4 XF R Lens now $499 (save $150)
Fujifilm 60mm f/2.4 XF Macro Lens now $399 (save $250)
Fujifilm XF 55-200mm f/3.5-4.8 R LM OIS Lens now $499 (save $200)

Tuesday, February 18, 2014

Photographing close up stills with the Fuji 60mm macro lens

We skipped going to the studio today because of the President's Day holiday. So I decided to play around taking some close-up stills using the 60mm Fuji macro lens on an X-Pro1. I have always found this lens to be very slow to focus. It has been improved somewhat with all the firmware updates Fuji has made to both cameras and lenses, but it is still slow and does hunt a bit. I'm hoping this will be improved when using it on the new X-T1. For now, however, I have it on an X-Pro, and rather than put up with its slow focusing, I used it in manual focus mode.

The top three photos were lit with direct sunlight coming through a window. I flagged some of it off to create shadows and slivers of light to define the composition, and kicked some light in from the opposite direction using a small silver card. I wanted to light to be hard and used the bright areas to define important parts of the subjects.

There is a certain about of intrigue in this tintype photograph of a man pointing to a microscope while his son stands nearby. His pointing gesture raises many questions: Is he pointing because he is proud of the microscope? Is he identifying his profession as a doctor or scientist? Is he pointing at it to thank someone for giving it to him? We'll never know the true story, but we know the gesture was quite deliberate when we consider the length of exposure times in this era.  He had to hold his pointing hand steady for quyite a long time. 


The next three images below were taken on my desk using direct available light from a ceiling track lighting fixture and no fill whatsoever for the shadows. Once again, I wanted to keep the harsh look from the tungsten down spots. I also played into the warm tone caused by this type of lighting by boosting it a little in Photoshop.

Normally it would be difficult to hold the entire tonal range with this type of hard, candid light, but the extensive dynamic range of modern digital sensors, and the especially the Fuji X cameras, thrives in these situations.  In the days of color film, shooting like this would have been near impossible to do.  Today you can obtain a passable image even with a cell phone camera.

For the top shot of the inside of a watch I used an extension tube with the 60mm macro to come extra close.


Monday, February 17, 2014

Winter scene in platinum from X-Pro1 images

Some of the snow images I took the other day of Central Park are intended to be converted into platinum prints. As a first step, I convert them in Photoshop and make digital prints to establish the tonality I want. Once I have something I like, I move on to having the platinum print made using an inter-negative.

I used to take these photos with a Nikon D800, but the resolution was so high that I had a problem with posterization of smooth tones, such as skies, when the images were converted. Then I switched to the Fuji X cameras, which have both a smaller sensor and lower resolution. This seems to have solved the problem nicely.

Here are some of the images I am considering:


Saturday, February 15, 2014

Comparing the Fuji X-Pro1 to the X-E2 photographing snow

When I woke up early yesterday morning I noticed from my window that the trees still had a layer of icy snow on their branches.  The sun was just coming up and hitting the tree tops causing them to glisten. The temperature was supposed to rise above freezing and I knew there would only be a short envelope of good photography before the temperature would be too high causing the sun to melt the snow on the trees. So I threw a Fuji X-Pro1 along with the two zooms and 14mm wide angle lens in a bag and trudged off to Central Park.


Usually I photograph snow while it is falling with the sky cloudy, not in the bright sunlight of a day like this.  The early morning light dipped into the park once the sun rose over the tall buildings of the city. When the light is early like this the shadows have a nice blue cast, but the highlights are still not too blasted out. I knew I had an hour at most of prime photography.


I have both an X-Pro1 and X-E2 cameras, and have been using primarily the X-E2 ever since it came out. Although I prefer the hybrid optical/EVF finder of the X-Pro, I have also come to appreciate that improved features of the X-E2. On this occasion I took along the X-Pro1. It wasn't long before I realized how differently the two cameras perform. The most noticeable difference was in the focus. The X-Pro was hunting and slow to focus compared to the X-E2.  While there have been quite a few firmware updates to the X-Pro to bring it into line with the newer models, I began to realize these were just patch work improvements compared to the enhancements in the newer X-E2 model. I found myself getting frustrated with the slow response time and now awkward menu buttons of the X-Pro1.


The X-Pro is still my favorite camera type with its combination of optical and electronic finder. I'm looking forward to the more advanced features, particularly the weather sealing, of the new X-T1, but deep down I'm really longing for a new X-Pro2 model with the viewfinder I like and all the new features that Fuji has incorporated in each model update.

Many of the scenes lent themselves to the 16:9 crop format of the X-Pro1
 All of these photographs were taken in very hard sunlight with deep shadows and extremely bright highlights off the white snow. I set the the X-Pro1 for auto exposure and varied the exposure compensation from 0 to +2/3, the later to compensate when the scene was predominantly white.  All images were done in RAW. When I developed the RAW images with Adobe Bridge, I was amazed at the extent of their dynamic range. There was complete detail in all the highlights and shadows. Typically I would have expected the highlights to blow out with direct sunlight on white snow. The images you see here had only minor tweaking for contrast and exposure, usually in local areas where I wanted to tone the image up or down a bit.


I did use a gray card to measure the color balance in the highlights and shadows, but ended up staying with what the camera interpreted on its own with auto color balance. It was early enough in the day for the sun to add some yellow to the highlights, while all the shadow areas went a predictable blue. I was able to photograph for about an hour until the light became too harsh.


I am definitely looking forward to trying the X-T1, but I am also confident that the X-Pro model will remain my favorite. I just wish Fuji would speed up delivery of a newer X-Pro model with all the niceties of the X-E2 and X-T1.