Focus stacking, where a number of photos taken at different focus distances from the camera, is something I have been doing for quite some time. In the past I did it manually, but recently I was able to automate the image taking process using a built-in feature of the Nikon D850. I've published a number of blog posts on this in the past.
Today, Fuji introduced its new firmware update for the X-T2 camera, and one of the many new features was a menu option for focus stacking, referred to by Fuji as "focus bracketing". From the Shooting Settings menu, you access the Drive Setting sub-menu, and then the BKT Setting menu. From here you access the Focus BKT Settings as illustrated in the photo below:
 |
| Here you can select the number of frames to shoot, the steps from 1-10, and the time interval between shots. |
Working this way is a little bit of a trial-and-error process to establish the correct ratio of frames and steps. The actual increment depends upon where you place the first focus point. If it is very close to the camera, the steps will be closer together than if the first focus point is far from the camera. For still life, I find that the settings I have set here are pretty close to what I generally use.
Selecting a working aperture is important. I've tried everything from wide open to very closed down, but I have found that an aperture of around f/5.6 works best for this.
The interval refers to how long the camera will wait before executing the next shot in the bracketing sequence. You might want a higher number of seconds, if you need to have the camera wait for a flash to recycle. I was using natural light, so I just set my interval to 0 seconds.
Below is a page from the new addition to the Fuji X-T2 manual explaining the process:
You are going to need a computer program that can combine all the shots into one. I've found the best program to be
Helicon Focus. You simply drag the stack of images into the program and tell it to do its thing. A short time later all the photos are combined into one single image with extreme focus, like the one below of the orchids.
Focus stacking is better than relying on extreme depth of field because with focus stacking,
everything is in focus. No matter how stopped down an aperture is, depth of field is a graduated process from the extremely sharp focused point to all other near or far minimally focused points in the image.
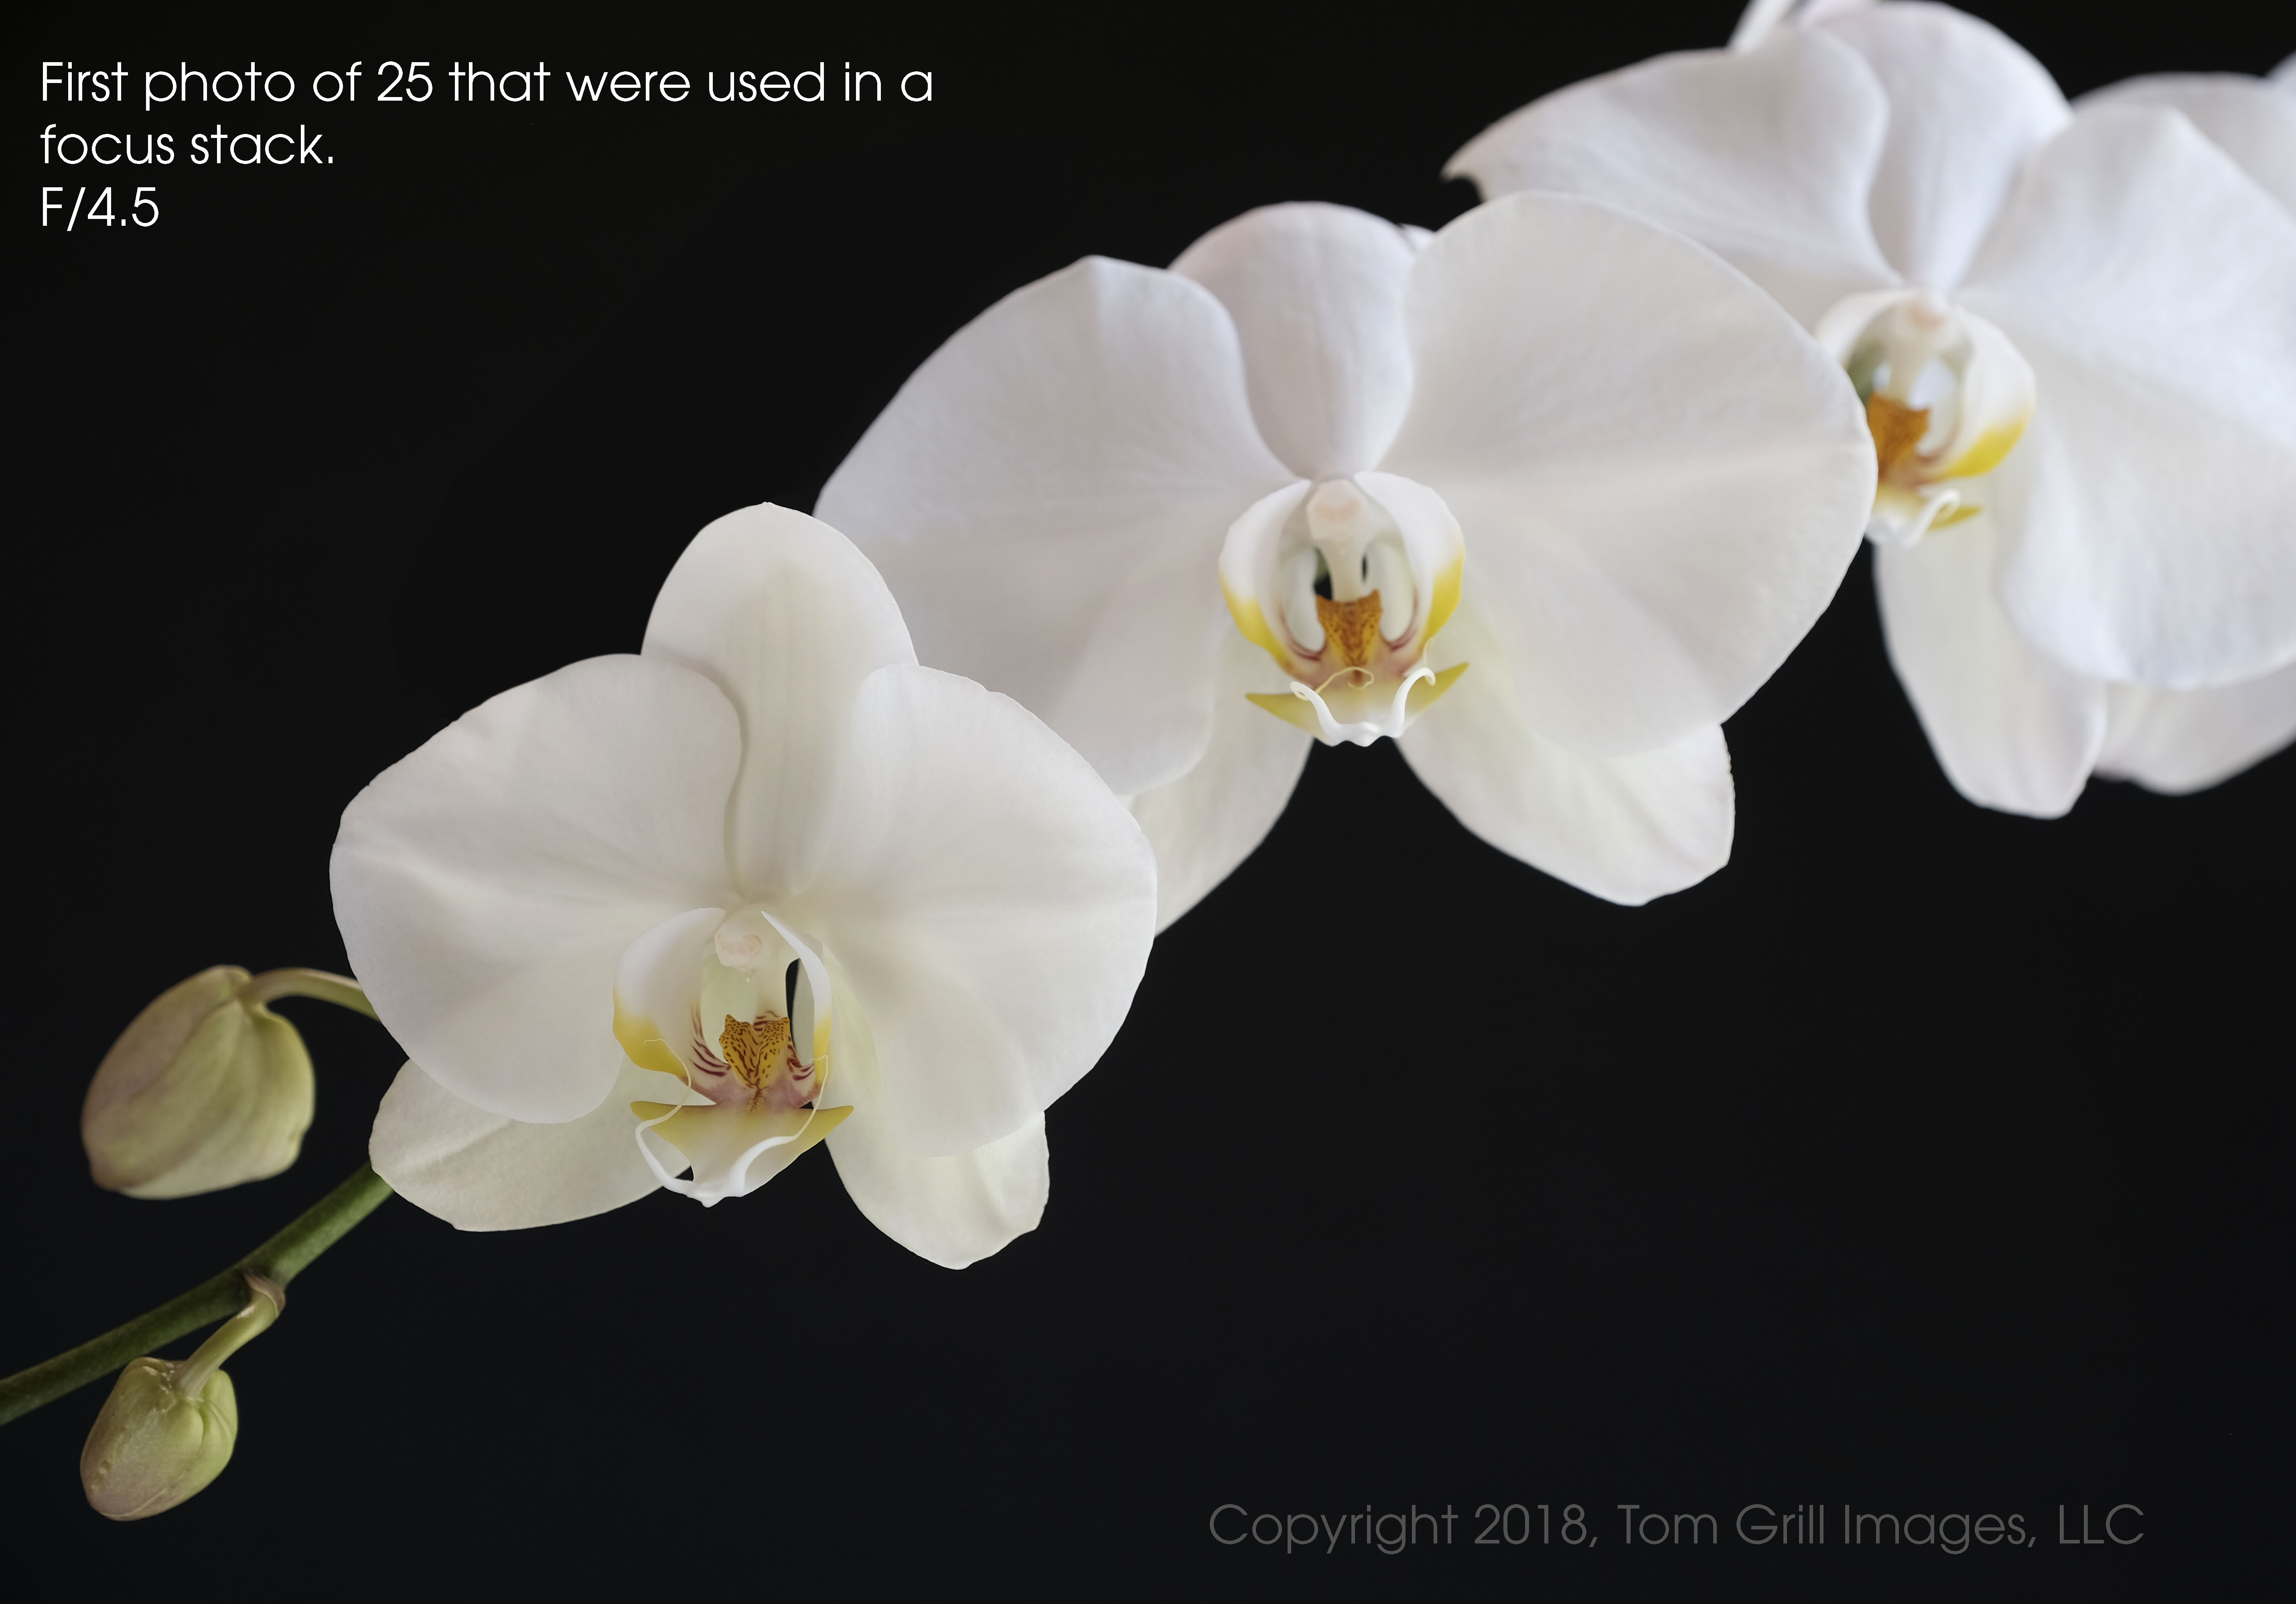
I provided a sample below of using focus bracket with the Fuji X-T2 and firmware 4.00 update. I realize it may be difficult to see the extremely sharp focus range in the small images so I provided a link to download a full-sized high res version of both samples. The first photo shows a stack of 25 images. The second photo shows just the first image from this stack to illustrate just how much focus stacking added to the photo.
 |
| This is focus stack of 25 images, all taken at f/4.5 and combined using Helicon focus. Taken with a Fuji X-T2 and 16-55mm zoom set to 55mm. Click on the photo to download this as a full size image. |
Download the new Fujifilm 4.00 firmware update for the X-T2 camera here.