Step1: Make a circular selection over the area of the bottom image you want to include as a reflection in the sphere, and create a new layer with this selection.
Step 2: Move the sphere to where you want it to be and re-select the sphere by placing your cursor over the image in the layer and use the menu to "select pixels". Use the "Filter>Distort>Spherize" command to create a sphere with this selected image. Just use the default Spherize settings for this.
Step 3: Do another re-select of the sphere circle as above; create a new layer with it: and fill the selection with black. Use the "Filter>Render>Clouds" command to fill it with random clouds. Now perform a Gaussian blur on these clouds to make them softer to taste. Use the "Filter>Distort>Sphereze" command on this, then change its layer mode to "Screen". (I sometimes us a photo of real smoke for this layer.)
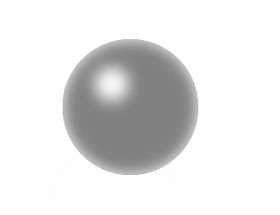
Step 4: This is a step that I sometimes skip. Do the same re-select of the circle, create a new layer, and fill the circular selection with 50% gray. Create a small circular selection within this circle of gray in the spot where you may want a highlight. Mine is in the upper left of the sphere. Blur this circle with a Gaussian blur and change the layer mode to "Hard Light".
The intensity of any of these layers can be controlled to taste by adjusting the opacity of the layer.
 |
| This is how the hot spot in step 4 looks before the layer is converted to "Hard Light". |


No comments:
Post a Comment